 how-to
How to Clean UV Blocking Window Film Properly
Quick Summary
To clean UV blocking window film properly, wait for it to cure, then wipe gently with a microfiber cloth and a few drops of mild dish soap in water. Rinse with clean water, dry right away, and avoid ammonia, abrasives, and paper towels.
- Wait for the film to cure before the first clean, following your installer's exact timing.
- Use a microfiber cloth of 300 GSM or higher and a few drops of mild dish soap per quart of water.
- Avoid ammonia-based cleaners, vinegar, abrasive pads, and paper towels, which can damage the coating.
- Dry the film immediately after rinsing to prevent water spots and streaks.
- Scratches and discoloration are usually permanent, so contact a professional when damage appears.
Table of Contents
- Why UV Blocking Window Film Needs Careful Cleaning
- Wait Before Your First Clean: Post-Installation Curing Time
- Tools and Cleaning Solutions You Need
- Can You Use Windex on Window Film?
- Step-by-Step Instructions to Clean Window Film
- Troubleshooting Streaks, Residue and Film Damage
- How Long Does Window Film Last With Proper Care?
- Book a Film Inspection or Replacement With Signs and Window Tinting LLC
- Frequently Asked Questions
Why UV Blocking Window Film Needs Careful Cleaning
Last Updated: October 30, 2026
Knowing how to clean UV blocking window film properly protects the film you paid for. Most damage happens during cleaning, not from the sun.
UV blocking film is a thin, multi-layer product.
Here is the rule to remember: clean gently, clean with mild products, and never let harsh chemicals touch the film. The rest of this guide shows you how.
Wait Before Your First Clean: Post-Installation Curing Time
The first clean is the riskiest one. Freshly installed film still holds moisture under its surface while the adhesive cures.
Curing time depends on the film type, the weather, and how humid it is inside the vehicle or building. Cooler, damp conditions take longer.
- Avoid cleaning the film interior for the first few days
- Do not roll windows down until your installer says it is safe
- Ask your installer for the exact curing window for your film
Once the film has cured, you can clean it using the method in the step-by-step section below.
Tools and Cleaning Solutions You Need
You do not need many supplies, but the right ones matter more than the number of them. UV-blocking film has a coated surface that is softer than bare glass, so the tool you choose determines whether you remove dirt or add micro-scratches that scatter light and dull the view.
Cleaning tools compared
- Microfiber cloth (300 GSM or higher): The best all-around choice. The split fibers lift grit instead of dragging it, and a plush weave gives dirt somewhere to go. Use one cloth for washing and a separate dry one for drying so you are not smearing soap residue.
- Soft sponge: Useful for large panes where a cloth would dry out before you finish. Choose a non-scratch sponge or a cellulose sponge with no abrasive backing. Never use the scrub side of a two-sided sponge.
- Squeegee: Effective on exterior glass, but risky on film interiors. A rubber blade pressed too hard can lift edges or trap grit that scratches. If you use one, confirm with your installer first and keep the blade wet and clean.
- Paper towels: Avoid. Wood-fiber towels can leave lint and micro-abrasions, and some printed towels have inks that smear on film.
Cleaning solutions compared
- Mild dish soap and water: The safest default. Use a few drops of plain liquid dish soap (not dishwasher detergent or soap with moisturizers) per quart of fresh water. Too much soap leaves a residue film that attracts dust and streaks.
- Film-safe commercial cleaners: Some glass cleaners are labeled safe for tinted windows. Read the label for ammonia, alcohol, and abrasive content before use, and test on a small corner first.
- Ammonia-based glass cleaners: Avoid. Ammonia can break down the film's surface over time, causing cloudiness or edge peeling.
- Vinegar and acidic cleaners: Avoid on film. Acids can attack the adhesive and coating.
What to keep on hand
- Two microfiber cloths (one for washing, one for drying)
- A soft sponge for large panes
- A spray bottle for the soap mix
- A separate spray bottle of clean water for rinsing
- A dry microfiber towel for edges and frames
Avoid paper towels, rough sponges, and scrub pads. They can leave micro-scratches that show up as haze over time, and haze on UV-blocking film is permanent.
The table below sums up which cleaning tools to use and which to avoid on UV blocking window film.
| Tool or solution | Best for | Key difference |
|---|---|---|
| Microfiber cloth (300 GSM or higher) | All-around cleaning | Lifts grit instead of dragging it |
| Soft sponge | Large panes | Non-scratch, no abrasive backing |
| Squeegee | Exterior glass | Risky on film interiors without checking first |
| Paper towels | Not recommended | Can leave lint and micro-abrasions |
| Scrub pads and steel wool | Not recommended | Remove the scratch-resistant coating |
| Mild dish soap and water | Routine cleaning | Safest default cleaning solution |
| Ammonia-based or vinegar cleaners | Not recommended | Can break down film surface or adhesive |
Can You Use Windex on Window Film?
Most people should avoid Windex and similar ammonia-based glass cleaners on window film. Ammonia can break down the film's surface over time, causing a dull look, cloudiness, or peeling at the edges.
Some glass cleaners are labeled as safe for tinted windows, and some are sold as film-safe. Read the label carefully before you use one.
Here is a quick guide:
- Ammonia-based glass cleaners: Avoid
- Abrasive cleaners and scrub pads: Avoid
- Mild dish soap and water: Recommended
- Cleaners labeled film-safe: Check the label first
Other providers may suggest different products, so always confirm with your film installer.
Step-by-Step Instructions to Clean Window Film
Follow these steps for the best results. Work on one window at a time so the surface does not dry out before you wipe it.
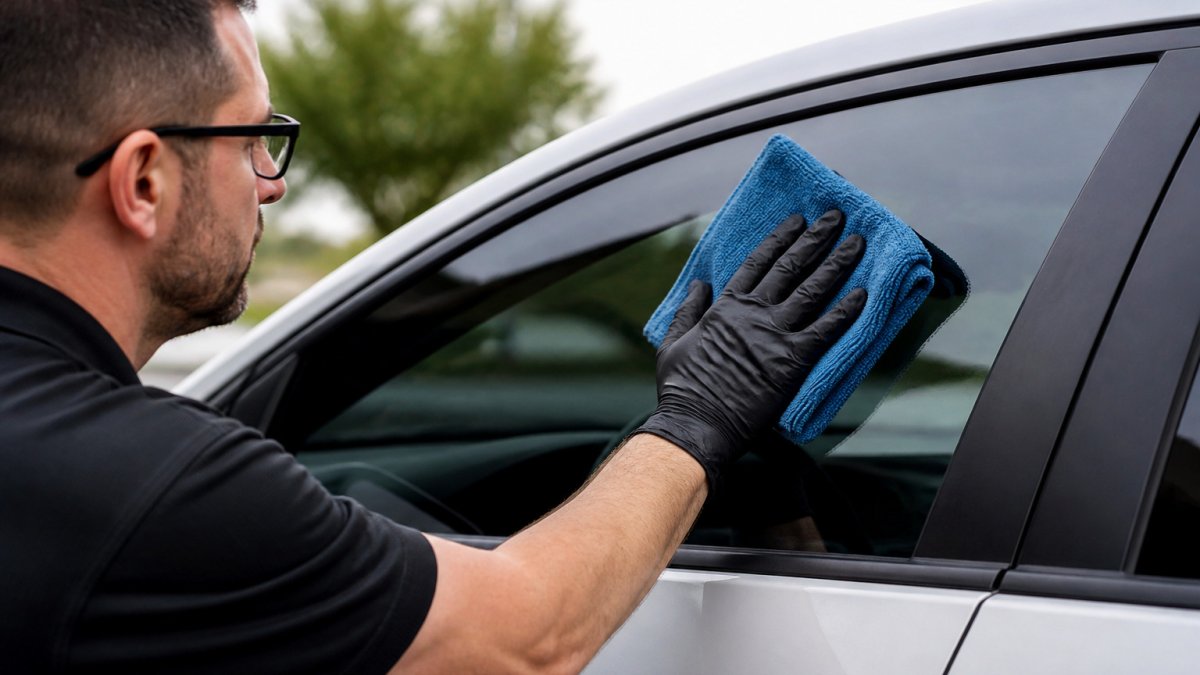
- Start with a dry dusting. Use a soft, dry microfiber cloth to remove loose dust and grit. Grit is the main cause of scratches.
- Mist the surface lightly. Spray your soapy water mix onto the film. Use a light mist so you do not soak the edges.
- Wipe gently in smooth strokes. Use overlapping strokes from top to bottom. Let the cloth do the work, and avoid heavy pressure.
- Rinse with a damp cloth. Wipe away any soap residue using a cloth dampened with clean water.
- Dry the film right away. Use a clean, dry microfiber cloth to remove water. This prevents water spots and streaks.
- Check the edges. Look for lifting or dirt near the edges. Clean these areas gently with a barely damp cloth.
Watch out: Never use a squeegee on the film's interior without checking with your installer first. A rubber blade pressed too hard can scratch or lift the edges.
For the exterior of tinted vehicle windows, follow the same steps. If your vehicle's film has been damaged or you want fresh protection, our Automotive Window Tinting team can inspect and advise on the best next step.
Troubleshooting Streaks, Residue and Film Damage
Most problems after cleaning come from leftover soap, the wrong cleaner, or rough wiping. If your film is damaged or peeling, a professional film inspection or replacement service can help. The key is to tell the difference between a residue you can remove and damage you cannot undo. UV-blocking film has a thin coating that does the UV work, and that coating does not heal.
Fixable problems
- Streaks: Usually caused by too much soap, a dirty cloth, or cleaning in direct sun so the solution dries before you wipe. Rinse with clean water, then dry with a fresh microfiber cloth. If streaks persist, reduce the soap to a few drops per quart.
- Soap residue or haze: Often from a mix that was too strong or from skipping the rinse step. Wipe with a barely damp cloth using clean water, then dry immediately. Do not scrub harder; more pressure does not remove residue faster.
- Water spots: Usually from hard water left to dry on the surface. Dry the film right after cleaning, and use a clean water rinse if your tap water leaves mineral spots. A second pass with a dry microfiber cloth usually lifts fresh spots.
- Fingerprints and smudges: Wipe gently with a damp microfiber cloth and dry immediately. Avoid pressing hard, since fingerprints sit on the surface and do not need force.
Problems that need professional inspection
- Scratches: Caused by grit, abrasive tools, or rough wiping. Scratches are usually permanent because they cut into the coating. Prevention matters most, and no cleaner will remove them.
- Lifting or peeling edges: Often caused by cleaning too soon after installation or by pressing too hard at the edges. Do not try to press the film back down; a professional can confirm whether the edge can be re-seated or the film needs replacement.
- Bubbles or blisters: Small bubbles right after installation are often moisture that will cure out. Large bubbles, bubbles that appear months later, or bubbles that grow are signs of adhesive failure and need inspection.
- Discoloration (brown, purple, or cloudy patches): Usually a sign the film itself is breaking down, often from age, heat, or chemical exposure. Cleaning will not reverse it.
- Adhesive failure: Film that slides, curls, or leaves a sticky residue on the glass is failing. Stop cleaning and contact your installer.
When to stop cleaning
Stop and call a professional if:
- A problem gets worse after a gentle cleaning pass
- You see scratches, bubbles, or discoloration that were not there before
- The film feels loose or lifts when you wipe near an edge
- You have tried a mild soap-and-water clean twice and residue remains
For homes and businesses, our Residential Window Tinting and Commercial Window Tinting teams can assess film on any building.
How Long Does Window Film Last With Proper Care?
Window film life depends on the film quality, the installation, sun exposure, and how well it is cleaned. Film life depends on the film quality, the installation, and how well it is cleaned.
Good care habits add up:
- Clean on a regular schedule, not only when the glass looks dirty
- Use mild soap and soft cloths every time
- Park in shade when possible to reduce heat stress
- Inspect the edges every few months for lifting
For a deeper look at film longevity, read How Long Does Professional Window Tint Last. If you are also wondering whether tint helps with sun glare, see Does Window Tint Reduce Glare?
Book a Film Inspection or Replacement With Signs and Window Tinting LLC
If your film is peeling, bubbling, or cloudy even after careful cleaning, contact Signs and Window Tinting LLC for a professional review.
You can schedule your project with us to get started.
Frequently Asked Questions
Can I use Windex on window film?
Most manufacturers advise against Windex and other ammonia-based cleaners on window film. Ammonia can break down the adhesive edges and cause the film to haze, peel or discolor over time. A mild liquid dish soap mixed with water, applied with a soft microfiber cloth, is the safer choice. Check the film manufacturer's care sheet first, since recommendations vary by product. If you are unsure which cleaner your film can handle, ask the installer before you spray anything on it.
How soon after installation can you clean window film?
Do not clean the film right after installation. New film needs time to cure, and moisture trapped under it needs to evaporate. Most installers recommend waiting several days before the first cleaning, and longer in cold or humid weather. Avoid rolling windows down during this curing period. Follow the timing your installer gives you, because the exact window depends on the film type and conditions.
How long does UV blocking window film last?
Lifespan depends on the film quality, the installation, sun exposure and how the film is cleaned. Quality films installed well can last many years, while cheap films may fade, bubble or turn purple sooner. Gentle cleaning with mild soap and soft tools helps protect the film edges and surface. Avoid abrasive pads and ammonia cleaners, which shorten the life of the film. Ask your installer about the warranty terms for the specific film you choose.
What cleaning solution is safe for tinted windows?
A mild liquid dish soap mixed with fresh water is widely recommended for tinted windows and window film. A common ratio is about 1/2 ounce of soap per quart of water, though you should follow the film maker's guidance if it differs. Spray or apply the solution lightly, then wipe with a soft microfiber or lint-free cloth. Avoid ammonia, abrasive cleaners and paper towels, which can scratch the film surface.