 how-to
How to Prevent Car Leather From Cracking
Table of Contents
- What Causes Leather to Crack in Cars
- Benefits of Automotive Window Tinting for Interior Protection
- Tools and Materials You'll Need
- Step-by-Step Cleaning and Conditioning Process
- How Often to Condition Car Leather
- Choosing the Best Leather Conditioner for Car Seats
- Common Mistakes to Avoid
- Frequently Asked Questions
Last Updated: September 20, 2026
What Causes Leather to Crack in Cars
Learning how to prevent car leather from cracking starts with understanding that leather loses moisture over time, becoming stiff and unable to bend without breaking.
Heat and UV rays break down the leather's protective coating and damage fibers. Dirt and salt accumulate on seats, trapping moisture and causing uneven drying.
Temperature swings cause constant expansion and contraction, stressing the leather grain and creating visible cracks and peeling.
Poor cleaning habits contribute: harsh soaps strip natural oils, wet spills weaken material, and scratches allow moisture to escape.
Most cracking is preventable with the right approach.
Benefits of Automotive Window Tinting for Interior Protection
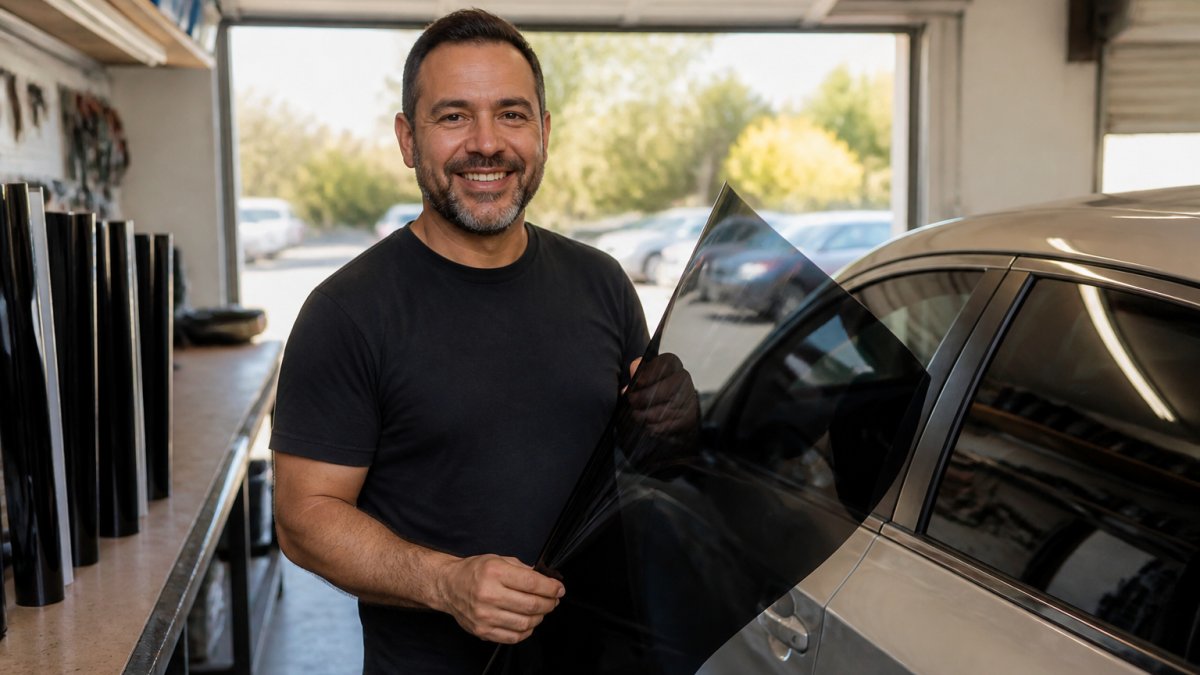
Window tinting blocks harmful UV rays before they reach your leather seats and dashboard. This single step prevents much of the sun damage that causes cracking and fading.
UV rays degrade leather fibers at the molecular level, causing a chalky appearance and brittleness over five to ten years. Tinted windows reduce UV exposure by up to 99 percent.
Tinted windows block infrared radiation, keeping the cabin cooler and reducing thermal stress on leather, which expands and contracts less.
Tinting reduces glare and prevents inconsistent heat exposure from open windows or sun shades, keeping leather in better condition.
Signs and Window Tinting LLC installs premium automotive window tinting films designed specifically for heat and UV rejection. Our proven installation techniques ensure the film stays bonded and doesn't peel or bubble over time.
Tools and Materials You'll Need
Gather these items before you start cleaning and conditioning your leather seats.
Cleaning supplies:
- Soft microfiber cloths (at least two)
- Distilled water
- pH-balanced leather cleaner
- Soft-bristle brush or old toothbrush
- Vacuum with upholstery attachment
Conditioning supplies:
- Leather conditioner (see section below for selection tips)
- Applicator pad or clean cloth
- Small bowl for mixing (if needed)
Optional but helpful:
- Leather protectant spray
- Leather grain brush
- Lint-free towels
Microfiber cloths are essential, regular towels leave lint and scratch the surface.
pH-balanced cleaners protect the leather's protective layer, while harsh soaps strip natural oils.
Distilled water prevents mineral spots and uneven drying caused by tap water.
Step-by-Step Cleaning and Conditioning Process
Cleaning and conditioning takes about 30 to 45 minutes per session. Do this every three to six months, more often if your car sits in direct sun.
Step 1: Vacuum thoroughly Remove loose dirt, crumbs, and dust from all leather surfaces, including seams and crevices where dirt traps moisture.
Step 2: Wipe with a damp cloth Dampen a microfiber cloth with distilled water and wipe all surfaces with light pressure to remove dust and prepare for cleaning.
Step 3: Apply leather cleaner Apply pH-balanced cleaner to a microfiber cloth (not directly on leather) and work in small sections.
Step 4: Scrub gently Use light circular motions with a soft brush on textured leather. Wipe away excess cleaner.
Step 5: Dry completely Use a clean, dry microfiber cloth to remove all moisture. Wet leather dries unevenly and cracks.
Step 6: Apply conditioner Wait 15 minutes after cleaning. Apply conditioner with light pressure in sections to restore natural oils.
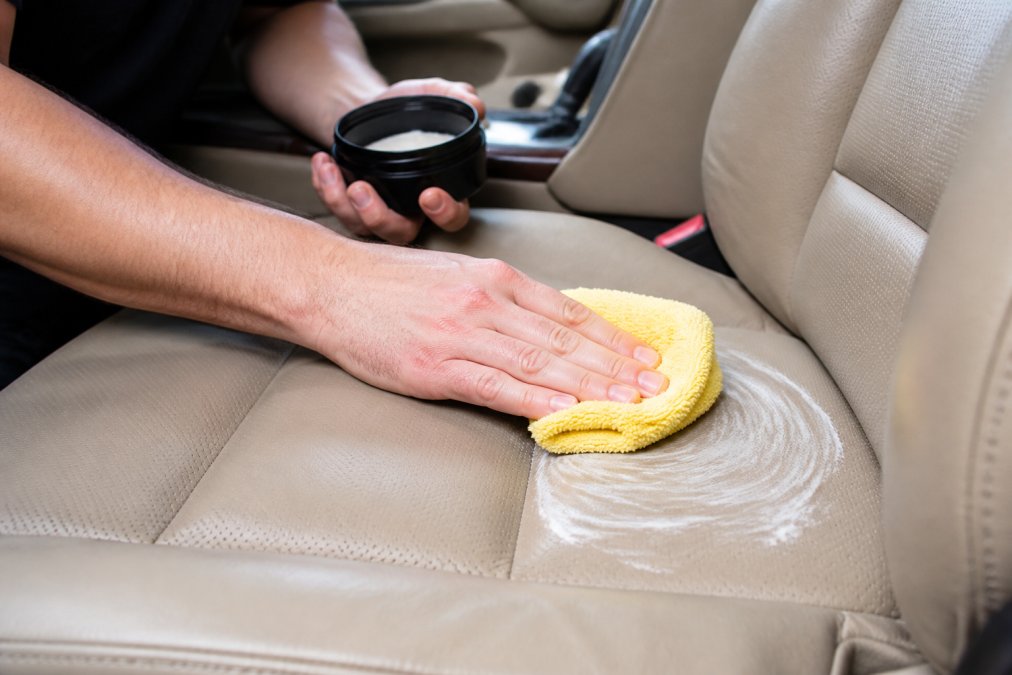
Step 7: Buff excess conditioner After 10 to 15 minutes, buff away excess with a clean cloth. Leather should look glossy, not greasy.
Step 8: Let it cure Ventilate the car for at least two hours. Do not drive or sit on seats during this time.
How Often to Condition Car Leather
Regular light conditioning every few months prevents cracking far better than heavy conditioning once a year. Adjust for your climate and vehicle usage.
Base conditioning schedule: Every 3-6 months. Condition at least twice a year, spring and fall, when UV exposure and temperature swings are most damaging.
Adjust for your climate. Your location determines how aggressively the sun and temperature affect your leather:
- Hot, sunny climates (Arizona, Florida, Southern California, Texas): Condition every 3 months. UV exposure is year-round, and temperature swings stress the leather constantly. Summer months especially demand attention.
- Moderate climates (Mid-Atlantic, Midwest, Pacific Northwest): Condition every 4-5 months. Spring and fall are critical; winter and summer are less demanding.
- Cold climates (Northeast, Northern Midwest, Mountain regions): Condition every 5-6 months. Winter reduces UV exposure, but dry indoor heating and temperature swings in spring and fall require care.
Create a seasonal maintenance calendar. Mark these dates on your phone or calendar:
Spring (March-April): First major conditioning session. Winter heating dehydrates leather. Inspect for cracks, clean thoroughly, then condition.
Early Summer (May-June): Optional second session in hot climates when UV exposure peaks.
Fall (September-October): Second major conditioning session. Condition before temperatures drop below 50°F, when leather absorbs conditioner poorly.
Winter (December-January): Optional light conditioning in cold climates if leather feels stiff. Avoid over-conditioning; cold slows absorption.
Check leather condition before each session. Feel the leather: if supple, wait; if stiff or cracked, condition immediately; if dull or chalky, condition within the week.
Account for vehicle usage and storage. Daily outdoor drivers need conditioning every 3 months; garaged daily drivers every 4-5 months; occasional drivers every 5-6 months. Condition before and after long storage.
New car leather needs earlier attention. Factory coatings wear thin after 6-12 months. Start conditioning within the first year to prevent rapid drying.
Track your conditioning sessions. Keep a simple log:
| Date | Season | Leather Condition Before | Product Used | Notes |
|---|---|---|---|---|
| April 15 | Spring | Dull, slightly stiff | Lanolin conditioner | Full car, 45 min |
| October 2 | Fall | Soft, good color | Lanolin conditioner | Full car, 45 min |
This log helps you spot patterns. If your leather always feels stiff by month four, move to a 3-month schedule. If it stays supple through month six, you can extend the interval.
Seasonal checklist for maximum protection:
Every session: Vacuum, clean, condition, buff, and allow 2+ hours for absorption.
Spring and fall: Inspect seams and edges for cracking.
Winter: Use lighter applications and allow extra drying time.
Choosing the Best Leather Conditioner for Car Seats
The best conditioner depends on your leather's finish and factory treatment.
Identify your leather type first. Most car leather falls into one of three categories:
Pigmented (coated) leather is most common in vehicles. It has a protective topcoat and works well with water-based conditioners.
Semi-aniline leather has a thinner protective layer and requires natural oil-based conditioners like lanolin or beeswax, not silicone.
Aniline leather is uncoated and rare in cars. Use only light applications of pure natural oils; avoid silicone and water-based products.
Check your owner's manual or run a water droplet test on a hidden area to identify your leather type.
Evaluate ingredient chemistry. Best conditioners contain lanolin, beeswax, jojoba oil, or coconut oil. Lanolin and beeswax work on all types; jojoba is lightweight and safe for all.
Avoid these ingredients:
- Silicone oils: Feel slippery at first but clog pores over time, trapping dirt and moisture. They also attract dust and make leather look dull after a few months.
- Petroleum distillates: Cheap fillers that don't condition leather; they evaporate quickly and leave the leather drier than before.
- Heavy waxes: Can build up and create a sticky surface that attracts dirt and feels unnatural.
Check pH balance. A pH between 3.5 and 4.5 is ideal for leather. This range matches the leather's natural acidity and won't disrupt the protective layer. Most quality conditioners list pH on the label or website. If it's not listed, contact the manufacturer before buying.
Test on a hidden area first. Apply a small amount to the underside of a seat or the back of a headrest. Wait 24 hours.
Common Mistakes to Avoid
Using too much conditioner. One application should be thin and even. Excess conditioner attracts dirt and creates a sticky surface. Less is more with leather care.
Frequently Asked Questions
Why do car leather seats crack?
Car leather seats crack due to a combination of dehydration, UV exposure, and temperature fluctuations. Leather is a porous material that loses moisture over time, especially when exposed to direct sunlight and heat. UV rays break down the leather's natural oils and protective coating, reducing elasticity. Without regular conditioning to restore hydration and flexibility, the leather becomes stiff and prone to cracking and peeling.
How often should you condition leather car seats?
Most leather seats benefit from conditioning every 3-6 months under normal use. If your vehicle sits in direct sunlight regularly or experiences extreme temperature changes, condition every 2-3 months. During winter months when heating systems dry out interiors, increase frequency to monthly conditioning. Inspect your leather quarterly for signs of dryness or stiffness, and adjust your schedule based on the condition you observe.
Is window tinting effective at preventing leather damage?
Yes, window tinting is highly effective at reducing UV exposure that damages leather. Quality automotive window tinting blocks 99% of harmful UV rays, significantly slowing the degradation of leather's natural oils and protective coating. By reducing interior heat and UV penetration, window tinting helps maintain leather hydration and elasticity, complementing your regular conditioning routine. Combined with proper maintenance, it's one of the most effective preventative measures available.
What's the difference between DIY leather conditioners and professional-grade products?
Professional-grade leather conditioners typically contain pH-balanced formulas designed specifically for automotive leather and include superior natural oils and protective coatings. DIY or budget products may use lower-quality ingredients that don't penetrate leather pores effectively or may leave residue that attracts dirt accumulation. Professional products often provide longer-lasting hydration and better abrasion resistance. For best results, choose a conditioner specifically formulated for car leather rather than generic furniture products.